Sunday, May 8, 2011

Using a Pencil

You can see right here that there is a ball that has a gradient background and has direct light and shadow. This is a drawing that took me three hours and it was very difficult.
Now you can see that it is only on a 3 X 5 index card. The reason that it took 3 hours was because I was only using the weight of the pencil to mak a mark which means the every mark was almost unable to be seen. However, when you have gone over the mark many times it can become quite visible - even dark.

Direct Light and Value


This is a deawing that shows direct light and indirect light very well. You can also see how reflection is shown awesomely with pastel. you can notive how the direct light on the apple and on the bowl the apple is in shine brighter than anything else on the page, and how the darkest part is not always a shadow, due to the reflection of light.

Techniques to Help you Out

Another technique that I use alot is putting something in a box, by using squares on an object that is round it helps me to judge where the center is and how much of an elipse it needs to be. Here is an example


Some Imprtant Things

There are some important things in this class that I have learned and I am now mastering. They include:
Plumb lines - Lines that run vertical to show you the relationship of one thing to another. For instance where the edge of something would meet another thing in space if it were to continue.
Level lines - Lines that run horizontal to show the relationship of one thing to another. Much like plumb lines however these lines are horizontal not vertical.
Angle dropping - This is where you use the length of your pencil to judge an angle that appears in what you are drawing and you drop it to your page by locking your wrist into place and letting your arm hold it to the page. This is a great tool to help you get angles down rather than just guessing and it could cause your drawing to appear skewed.
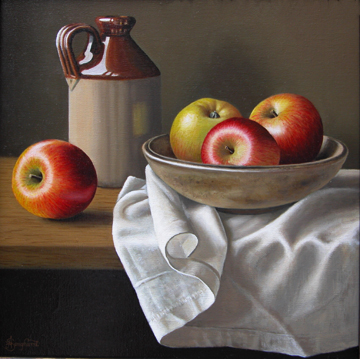
Comparative measurement - Probably the most important technique to use when drawing. this technique requires you to outstretch your arm and lock your elbow. Once there you choose one item that you see and measure it on your pencil using the point and the tip of your thumb to compare.  having done that you can compare that length to another thing. For instance, let's say you are drawing a bowl of fruit and you have measured an apple vertically and the orange's width is one and a half the size of the apple's height. Or you could see that the apple is two apple heights away from the bowl.
You can see why it is that this tip is so helpful but of course without the others it is not as helpful. All of these techniques are very nice and can help you push yourself and can even help you make a drawing look exactly like a picture.

Monday, February 14, 2011

First Project

So far on the first project I have all of the shapes down and they seem to bee in the right spot. Sorry that I do not have pictures posted but I can show you the still life that I am working from.

Tuesday, February 8, 2011

Drawings

When doing my drawings I have found that My favorite things to draw gestures of are People. I like that I can now draw so quickly and still make it into something. I have never been able to do that until this year.

Wednesday, February 2, 2011

What I've Learned Thus Far

So far in the past two weeks of Drawing 140 I have learned many things that I never learned in four years of art classes in high school.  I have learned how to hold my pencil more loosely and at the back of the pencil. I have also learned that you draw with your arm and not your wrist. This is uncomfortable at first but it is becoming much more comfortable the more I practice. I have learned that gesture drawings are a way to get a general sketch of what it is that you are seeing in under two minutes and they are also great for showing action. These are all great things to learn and I look forward to learning and applying it to my artwork.